Install and first launch
Selector Studio runs on Macs with Apple silicon. It does not need an internet connection to work, and it does not need Rekordbox.
Install
Section titled “Install”- Open the downloaded disk image (a .dmg) and drag Selector Studio to Applications.
- Right-click Selector Studio in Applications, choose Open, and confirm. Selector Studio is not yet signed with an Apple Developer ID, so macOS warns that it cannot check the app until you do this. If your Mac offers no Open button, open System Settings > Privacy & Security and choose Open Anyway beside Selector Studio. You only do this once.
After that, Selector Studio can update itself: it checks now and then, and shows Update ready in the status bar when a newer version has downloaded.
Bring your music in
Section titled “Bring your music in”You have two ways to fill the library. Use either or both.
- Drop files. Drag audio files or whole folders onto the Selector Studio window. They join the library right away, with their tags and artwork. Selector Studio only reads your files; it never moves, retags or deletes them. See Add music.
- Sync with Rekordbox. If you use Rekordbox, press Sync with Rekordbox in the title bar. Selector Studio shows what it would bring in and what it would send back, and changes nothing until you confirm. See Sync with Rekordbox.
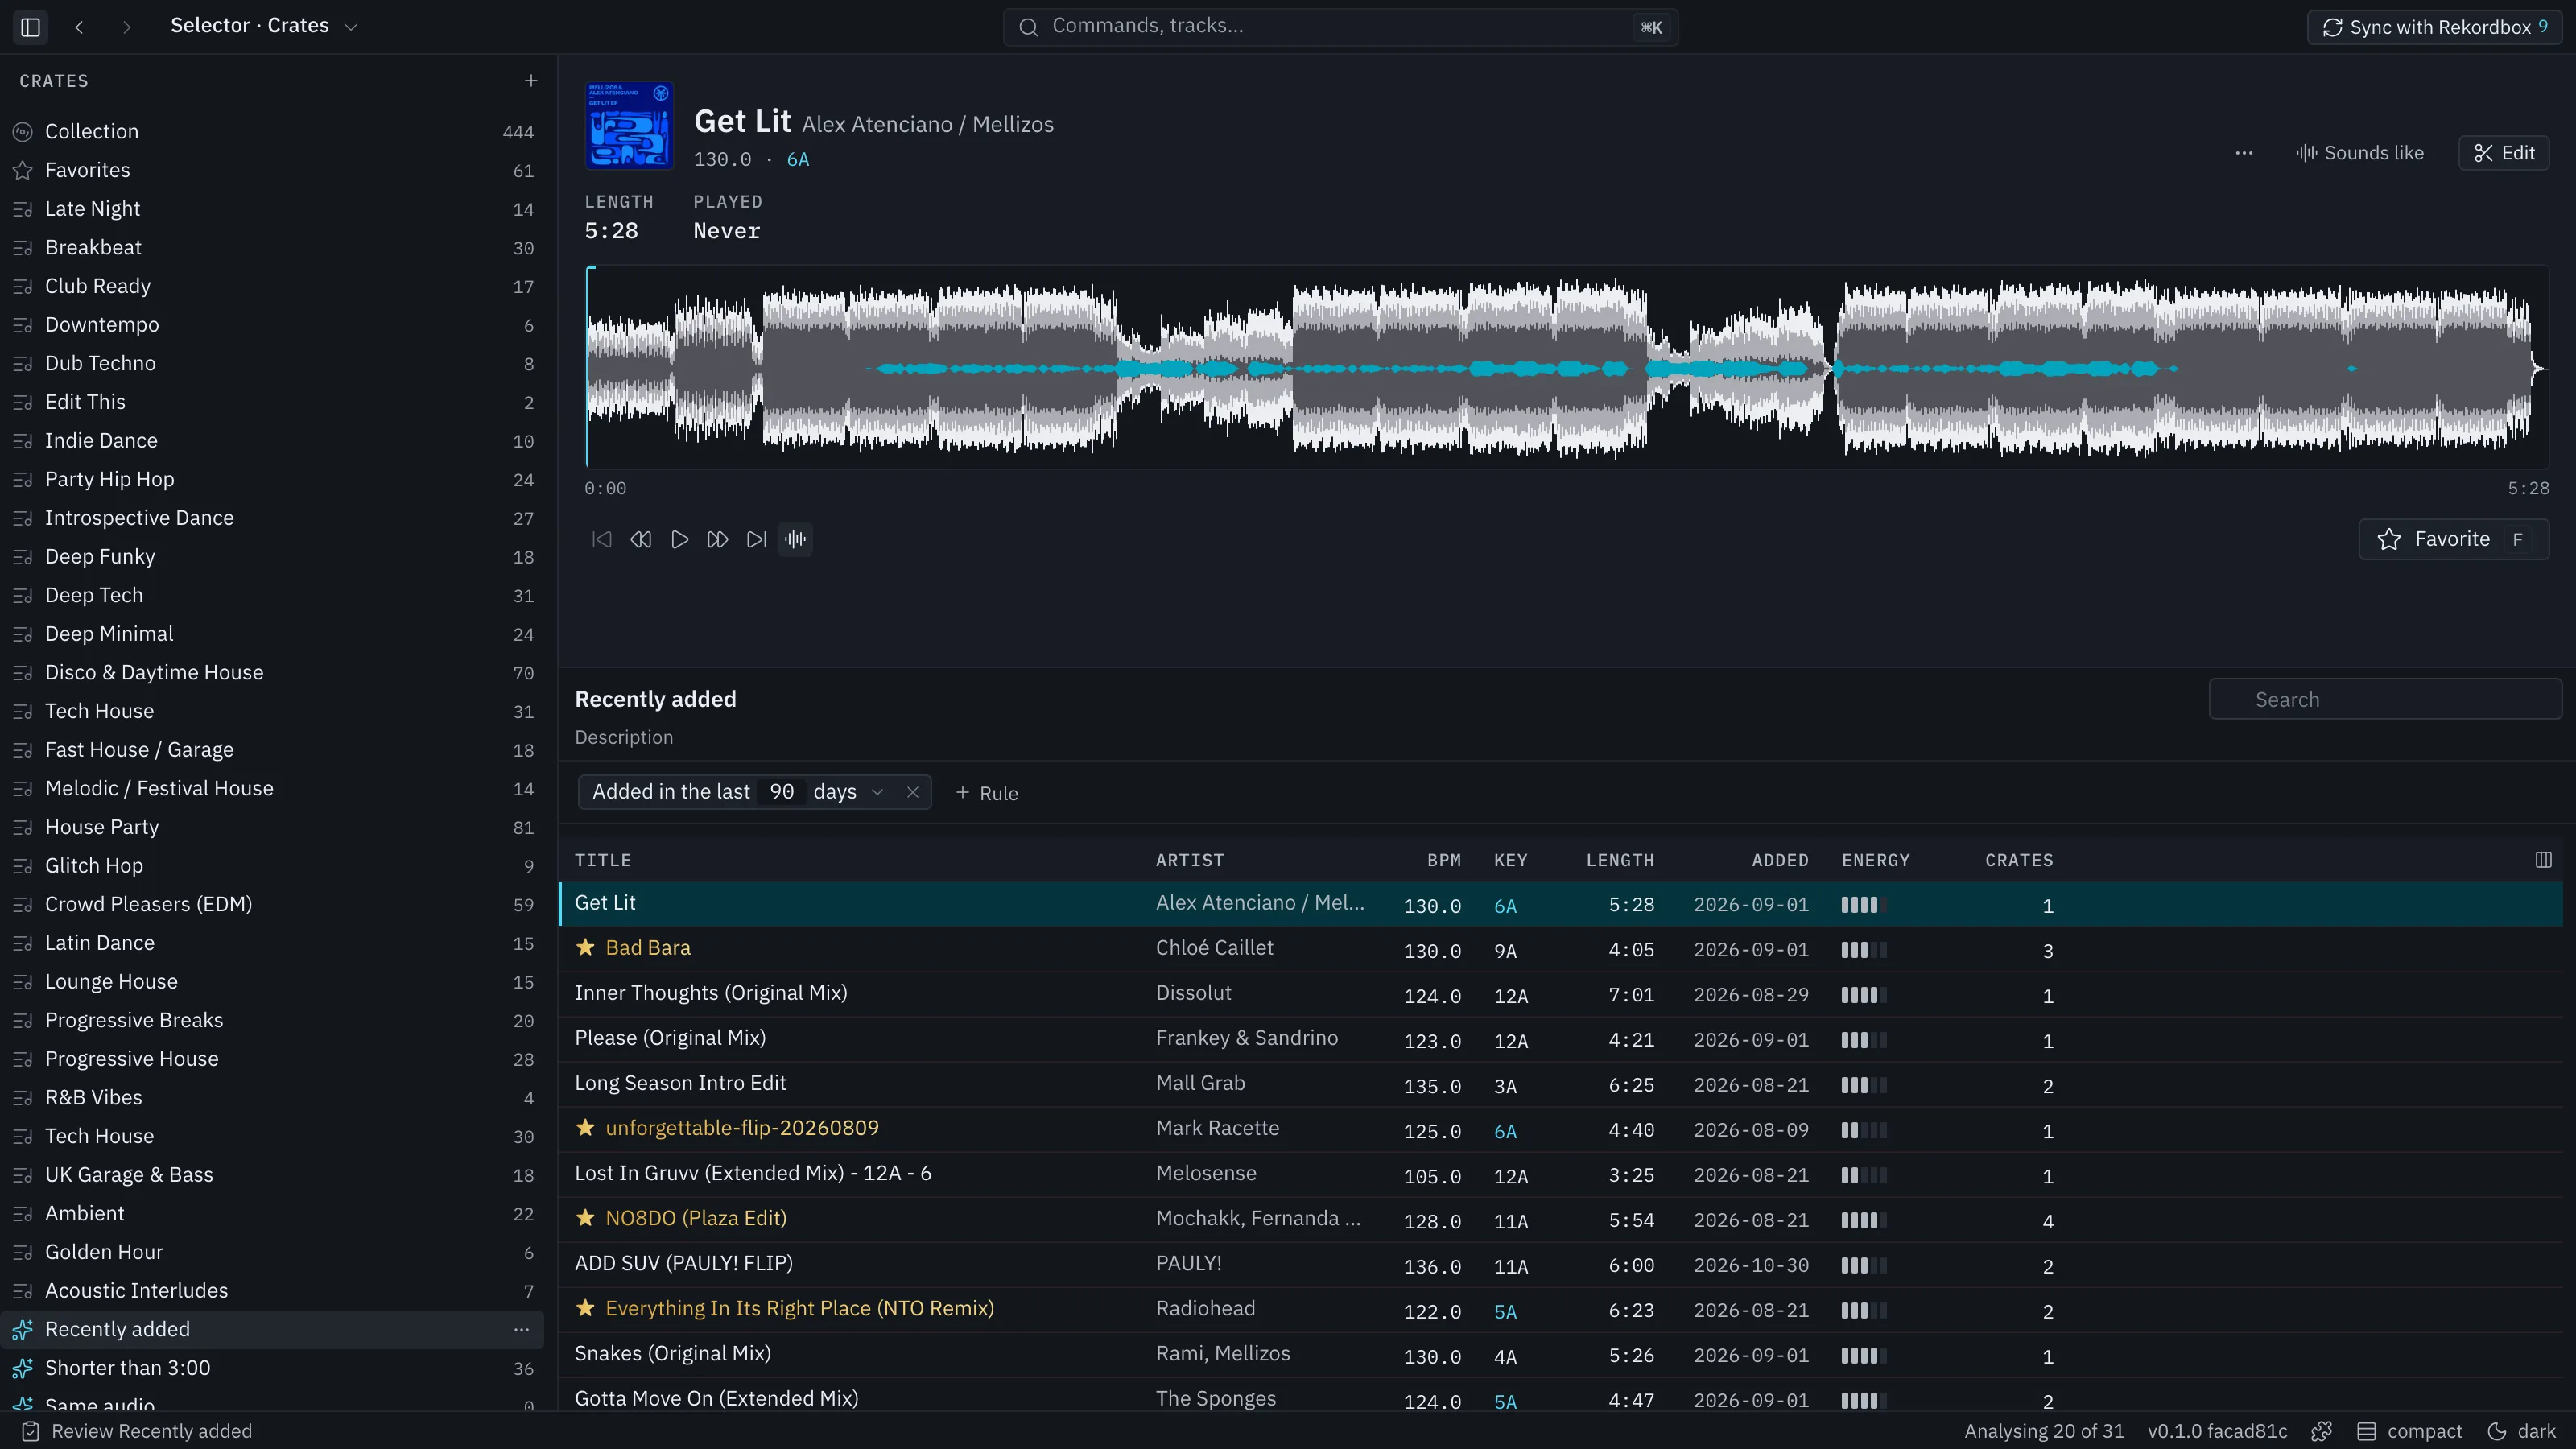
New tracks get a key, a tempo and beat grid, a waveform and a quality grade worked out in the background. You can browse while it runs.
What Selector Studio keeps
Section titled “What Selector Studio keeps”Selector Studio keeps its own library. It reads your audio where it sits. Before it writes to Rekordbox, or upgrades its own library, it makes a backup.