
Time and layers
Insert time and delete time
Section titled “Insert time and delete time”Insert time (⌘I) puts silence into the whole edit. It goes at the start of your selection, else at the cursor, for the length of the selection, else 4 bars. In the clip row and the right-click menu you can pick 1, 2, 4, 8 or 16 bars instead. The main track and every laid-in lane split there and move later, curves included.
Delete time (⌘⌫) is the opposite: it takes the selected stretch out of the whole edit and closes the gap. It never goes before bar 1.
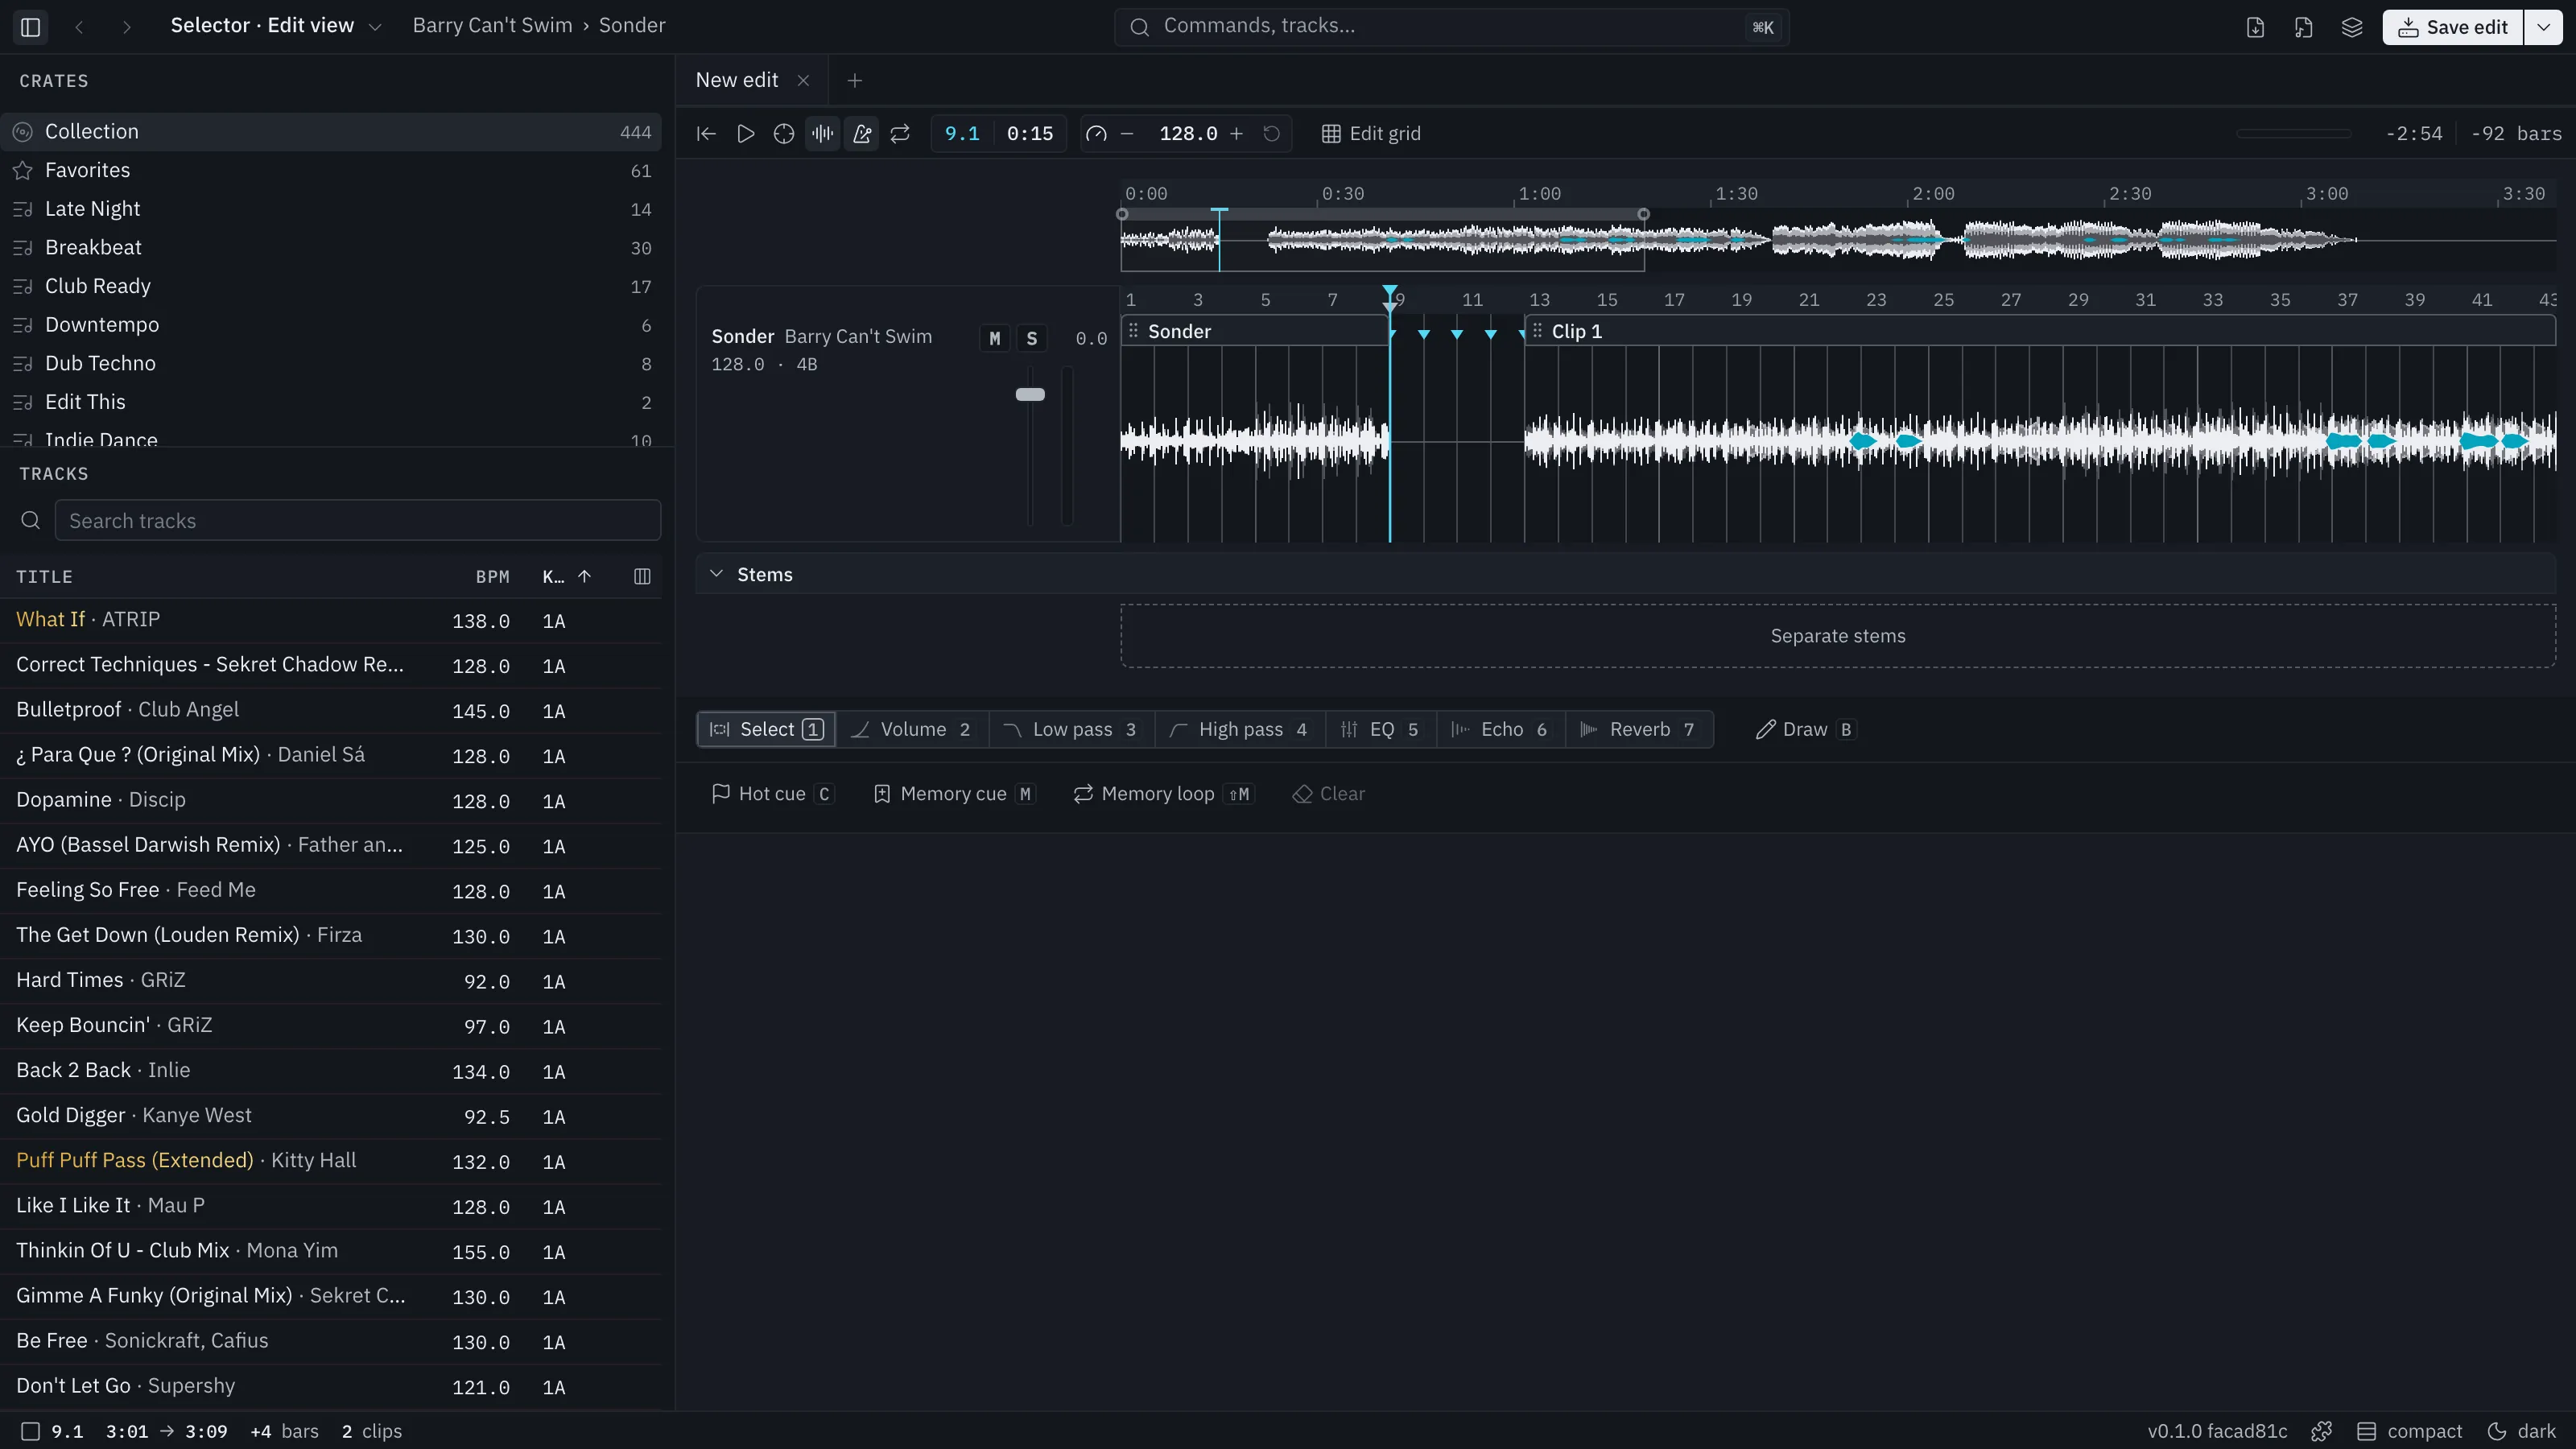
Paste insert
Section titled “Paste insert”⇧⌘V pastes where Paste would, but first puts in enough time for the copy, so what follows moves later instead of being replaced.
Lay in another track
Section titled “Lay in another track”Drag a track from the Edit view’s list onto the edit. It appears as a lane under the main track, with its own header: title, tempo with its shift from the original, key, volume, mute and solo, and a menu for pitch, half and double time, and remove. Line it up against the main track.
- A laid-in track is stretched by one factor from the main track’s average tempo. It is not warped beat by beat, so its grid is drawn on its own beats.
- Clips, curves, copy and paste work in a laid-in lane as on the main track, across tracks too.
- Select a lane and the keys work on it: M mutes, S solos, the arrows move the fader.
- The track you are editing can be laid in under itself, so two parts of the song overlap.
- A lane’s last clip, deleted, takes the lane away.
Stems and vocals
Section titled “Stems and vocals”With the Stems add-on installed (Add-ons):
- The vocals switch draws where the vocals are as a thin shape over the waveform. Flip it in one view and it flips in every view that plays tracks.
- Mute or solo individual stems (vocals, drums, bass, other) in the Edit view. The stems then play in place of the whole track, the whole track’s waveform goes grey, and each stem that does not sound dims in its own lane.
- Export stems as WAV files from the track.